**这是本文档旧的修订版!**
基于现有的原理图符号进行修改
kicad
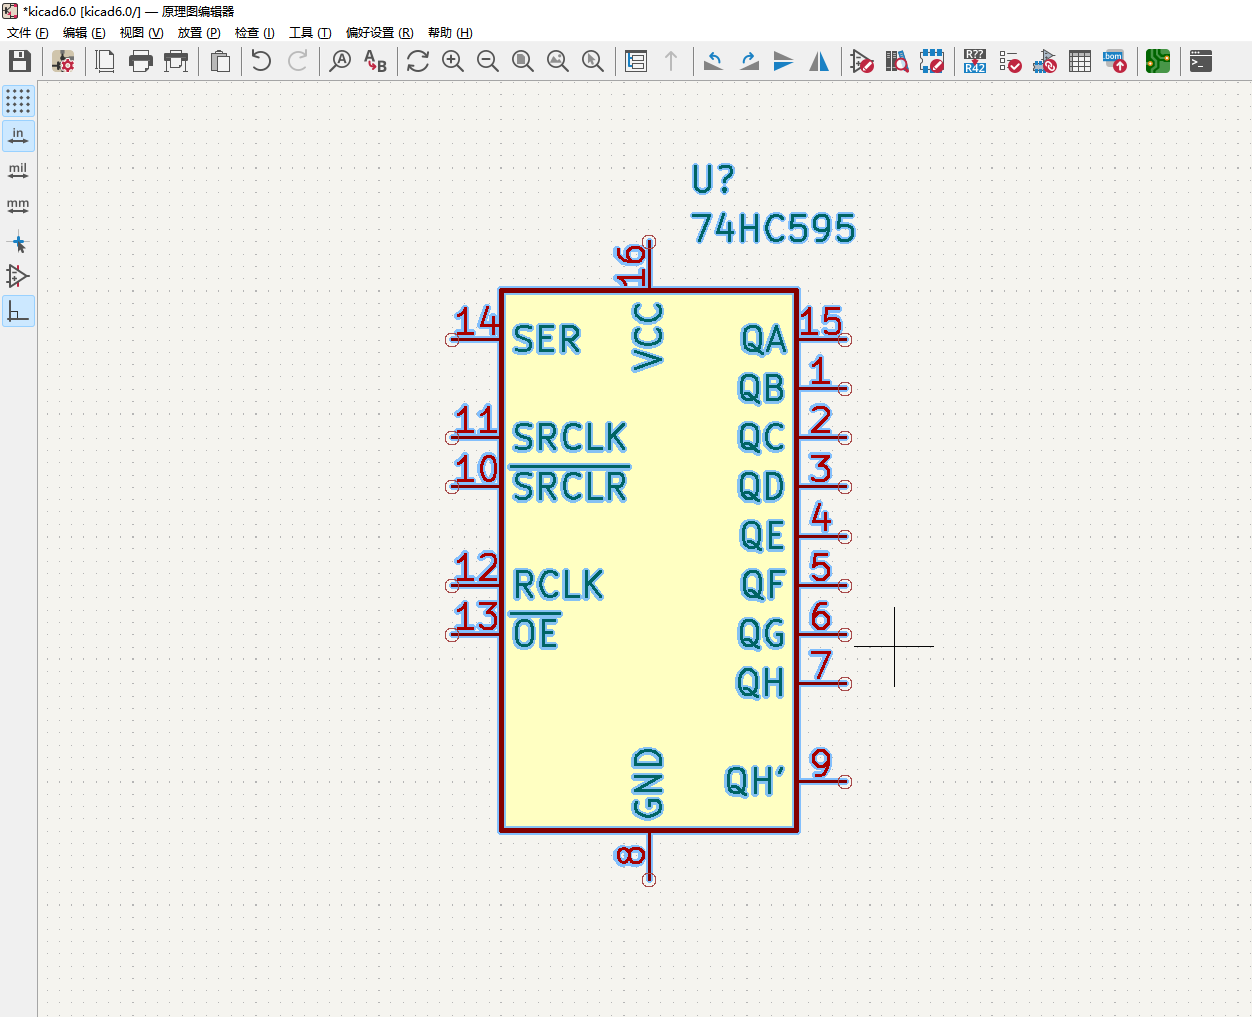
下面演示一下如何基于现有的原理图符号进行修改,以74HC595这个符号为列,我们对这个器件的符号进行修改,首先在原理图中添加这个符号,点击符号库,或者快捷键A,进入符号库,搜索框中输入74HC595,然后将74HC595添加到原理图中如图:
In this recipe, you will learn how to modify an existing symbol. It builds on knowledge that you have learned in the recipe on how to create a custom symbol. If you have not read that recipe (titled 'Creating a new component (symbol)'), please do that now and come back when you have. The process of modifying an existing symbol starts with finding the symbol that you want to modify. Then, you create a copy of the original symbol, make the changes, and save it to an existing or new symbol library. Let’s begin. Your objective is to make a few cosmetic changes to a symbol that ships with one of the standard symbol libraries of KiCad 5. The symbol name is '74HC595'. This is a common 8-bit shift register that you will find in many Arduino projects. The symbol itself is complete as it comes out of the box, but for the sake of this recipe, let's say that you would like to re- arrange some of the pins, change the location of the text blocks, and add some descriptive text. First, in Eeschema, find the symbol you want to modify and add it to the sheet. You can do this using the 'Place Symbol' tool from the right toolbar ( ). With the symbol on the sheet, right click on it to reveal the context menu and click on Properties, 'Edit with Library Editor'.
You have already used the Library Editor to create a new symbol in the '35. Creating a new component (symbol)' recipe, so the editor window should be familiar (Figure 36.2). Figure 36.2: An existing symbol, waiting for your modifications. Using the knowledge you gained in the '35. Creating a new component (symbol)' recipe, move the pins around, change their text, modify and move the text blocks, or add new text as you see fit. I modified the symbol to look like the example in Figure 36.3. I have added a block of text that describes the device and moved the input pins along the left side of the rectangle.
When your modifications are complete, you must save the footprint in a library. If you click on the Save button ( ), then you will overwrite the original symbol with the modified version. A better option is to save the modified symbol in a new library file. I prefer this option. Click on the Export button ( ), or select Symbol, 'Export Symbol' from the menu. Navigate to your libraries directory, type in a new name for the new symbol and click Ok. I simply added my initials after the original name of the symbol (Figure 36.4). Figure 36.4: Saving the modified symbol. Finally, let’s test your modified symbol. In Eeschema, add the new symbol library to your libraries table if it isn’t there already. Add a new symbol to the sheet, which will reveal the symbol chooser window. Use the filter to search for the filter, by typing '74HC595' in the field (Figure 36.5).
Notice that there are three items inside the '74hc595_PD' library. Apart from the actual symbol name, there are two more: '74HCT595' and '74LS595'. These are aliases, pointing to the same symbol. To edit the aliases, use the symbol properties window from the Library Editor’s 'Symbol' menu. Figure 36.6: Symbols can have aliases, configurable from the Properties window. Double click on any of the symbol aliases to add the modified footprint to the sheet. The example in Figure 36.7 shows the original symbol on the left, and the modified version on the right.